Usuba knife guide: Master vegetable cutting, care, and selection in simple steps.
As a chef and long-time knife enthusiast, I wrote this usuba knife guide to give you clear, hands-on advice. I blend workshop experience with tested techniques so you can pick, use, and maintain an usuba knife like a pro. Read on for practical tips, mistakes to avoid, and step-by-step routines that make the usuba a daily tool rather than an ornament.

What is an usuba knife?
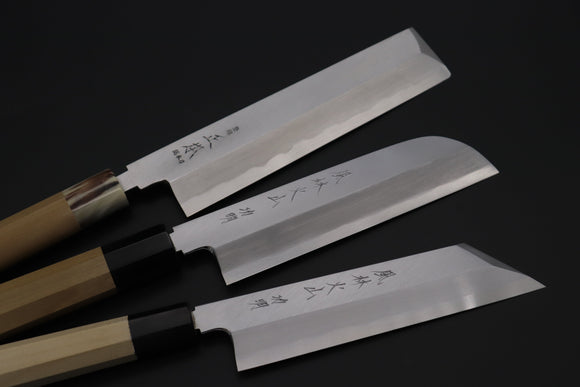
An usuba knife is a traditional Japanese vegetable knife with a tall, thin blade made for precision. It is often single-beveled, which gives very fine, clean cuts and helps produce paper-thin slices and sheets. Chefs use the usuba for tasks like katsuramuki (rotary peeling), julienne, and delicate garnishes. This usuba knife guide will show how its shape and grind set it apart from other knives.
History and cultural context
The usuba grew from Japanese professional kitchens where speed and precision matter most. It developed as a tool for vegetable prep in kaiseki and traditional restaurants. Over time, skilled artisans refined the single-bevel grind to favor a razor edge and minimal cell damage in produce. Understanding that heritage helps explain why many chefs still prefer an usuba knife today.
Types, construction, and common variants
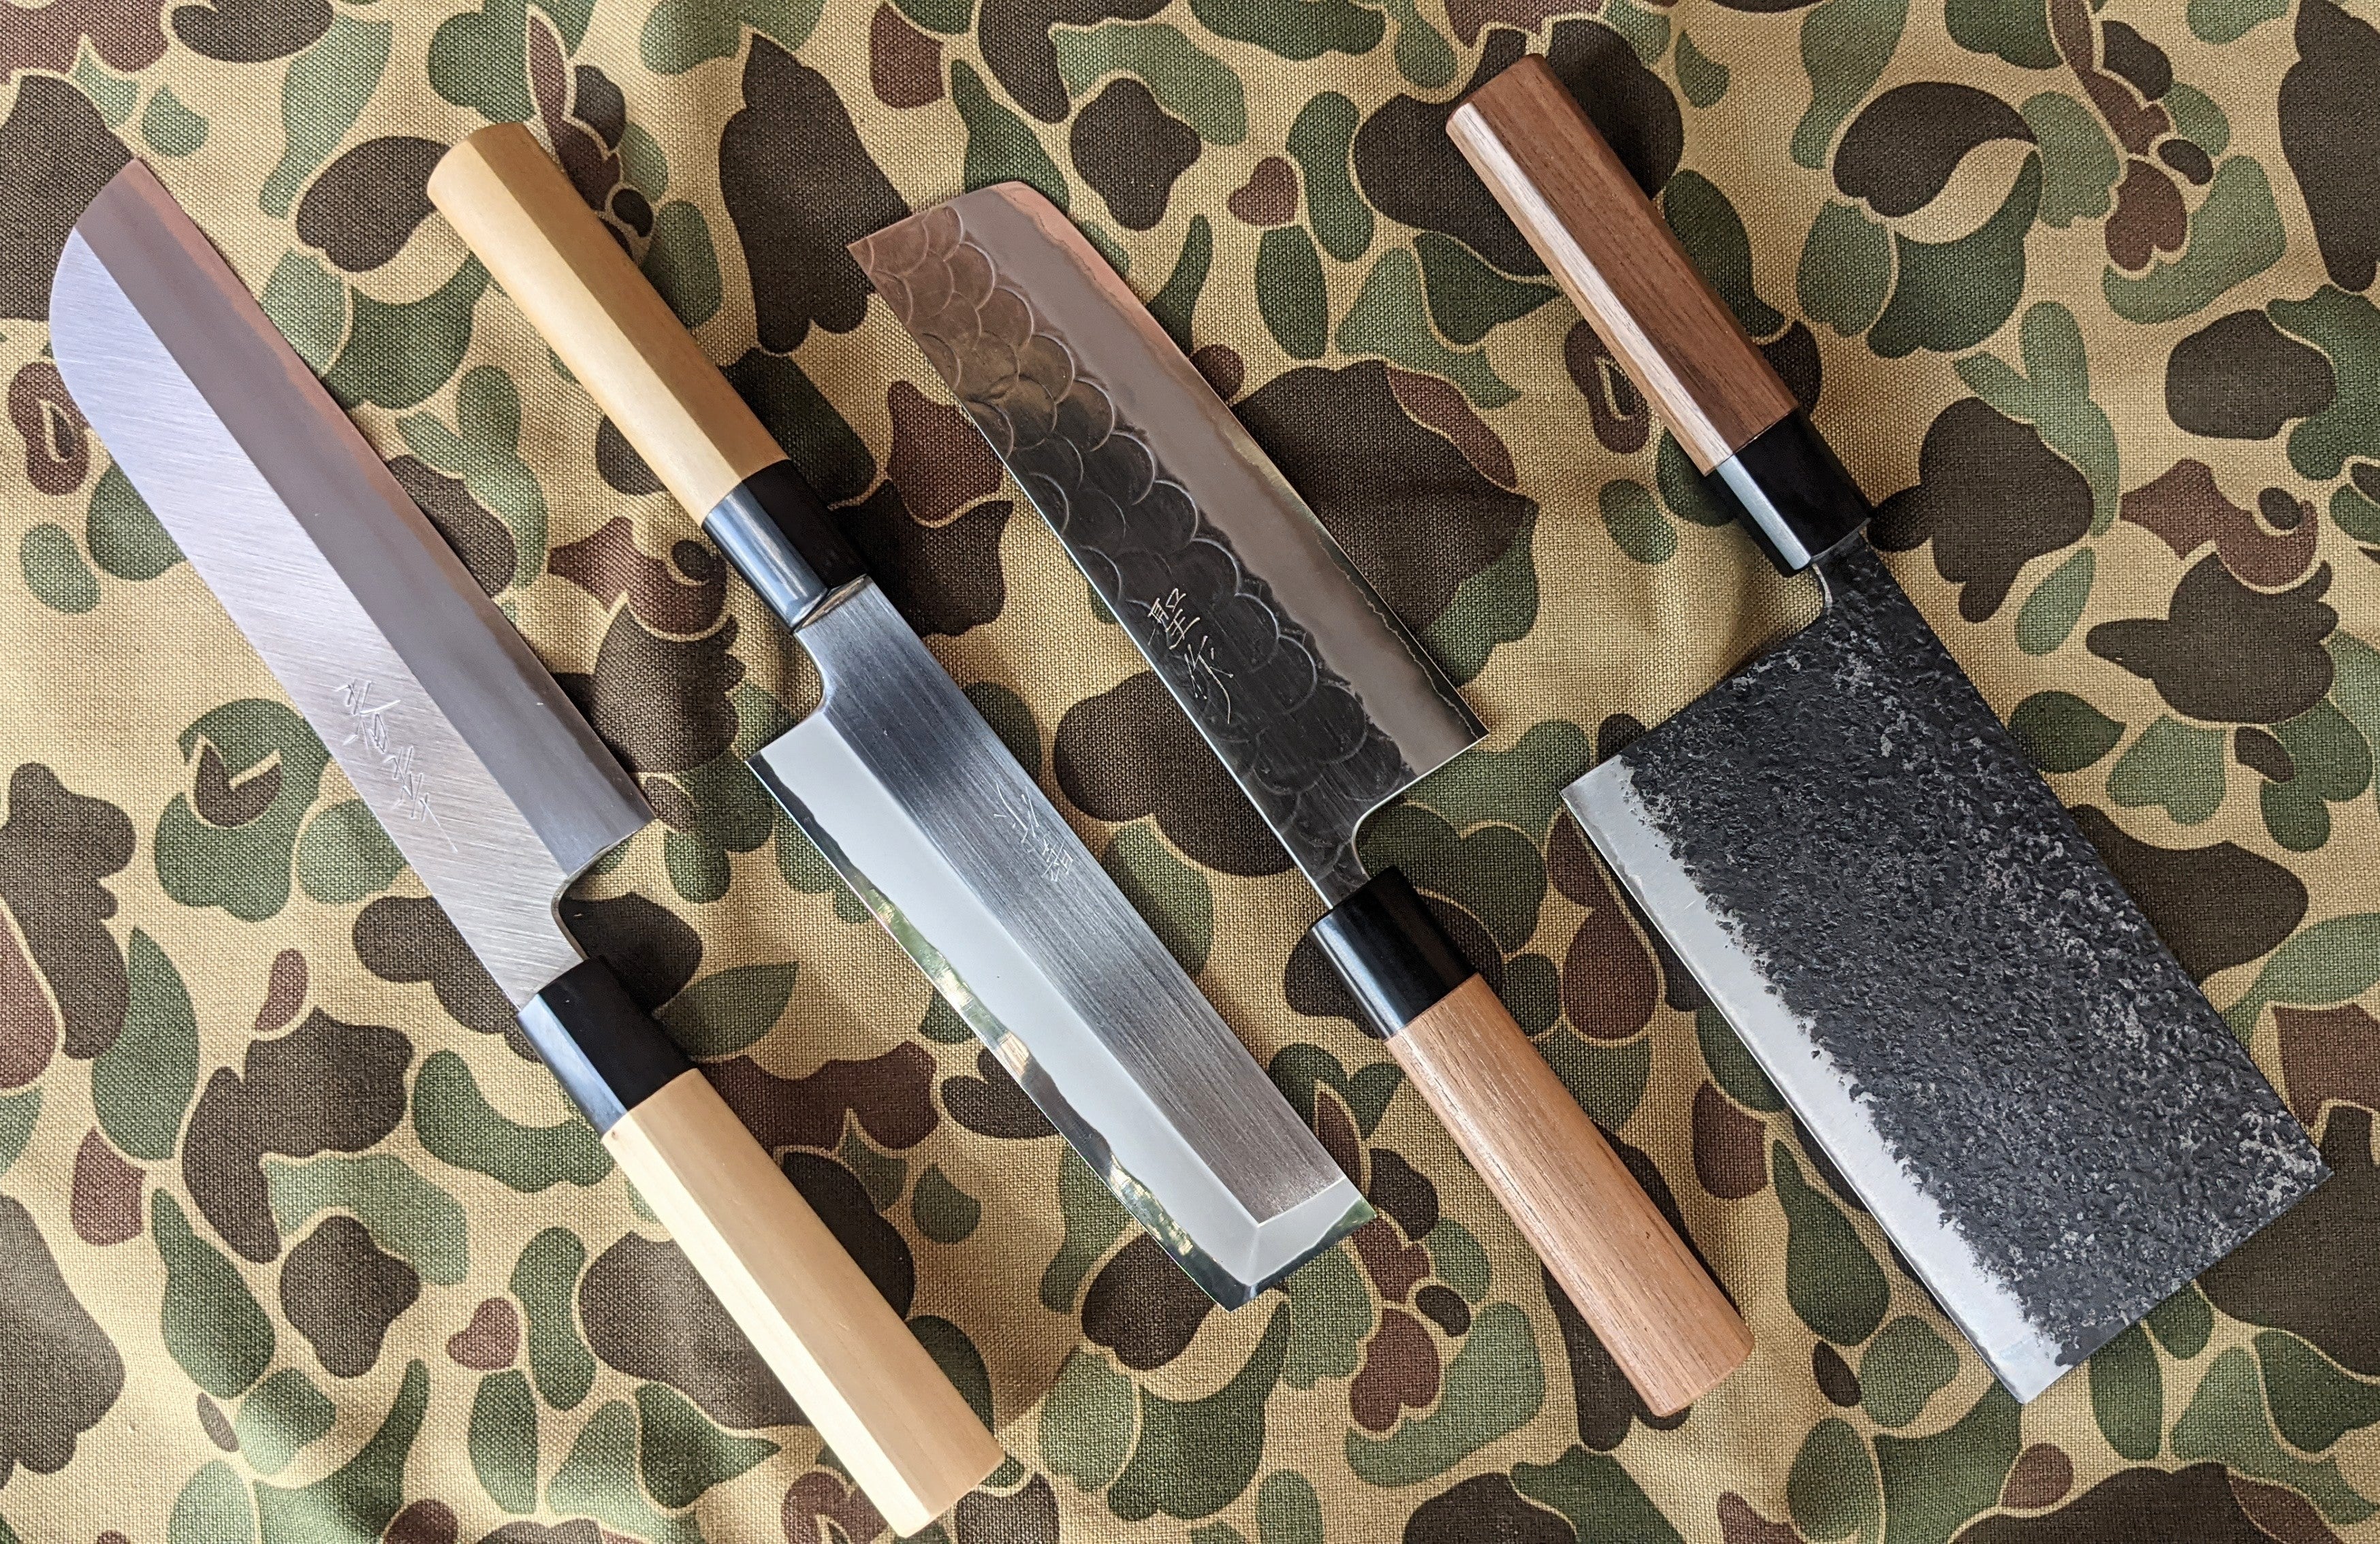
Usuba models vary by grind, steel, and handle. Key points to know:
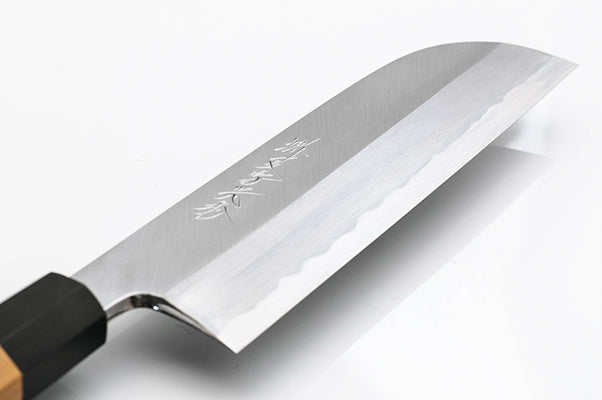
- Single-bevel usuba: Traditional form with a flat back and a sharpened front bevel for acute cutting angles. It produces cleaner cuts and is favored by professional chefs.
- Double-bevel or western-style usuba: Easier to use for home cooks and left-handed users; it offers more familiar sharpening and handling.
- Steel choices: Carbon steels (white or blue) sharpen very sharp and hold an edge well but require care to avoid rust. Stainless options resist corrosion but can be harder to hone to a mirror edge.
- Handles: Wa-style (Japanese octagonal or rounded) offers light balance; western handles feel familiar and add heft.
This usuba knife guide emphasizes matching grind and steel to your skill level and maintenance habits.
Usuba knife guide to choosing the right blade
Pick an usuba that fits your work and skill. Consider the following:
- Blade length: 165–180 mm works well for home cooks; 210–270 mm suits professional kitchens with large vegetables.
- Grind and handedness: Choose single-bevel for traditional cuts and a sharper edge. Choose double-bevel if you want easier upkeep or are left-handed.
- Steel and care: Select carbon steel if you will maintain it regularly and want the sharpest edge. Choose stainless if you prefer low-maintenance care.
- Weight and balance: Lighter wa-handles help with fine control; heavier blades offer momentum for larger produce.
- Budget and maker: Invest in a reputable maker for consistent heat treatment and geometry. A good usuba knife guide will advise matching cost with how often you will use it.

How to use an usuba knife — techniques and examples
Using an usuba focuses on straight, controlled cuts rather than heavy rocking. Practical techniques:
- Basic push-slice: Hold the handle with a relaxed grip and push the blade down and forward in one motion for thin slices.
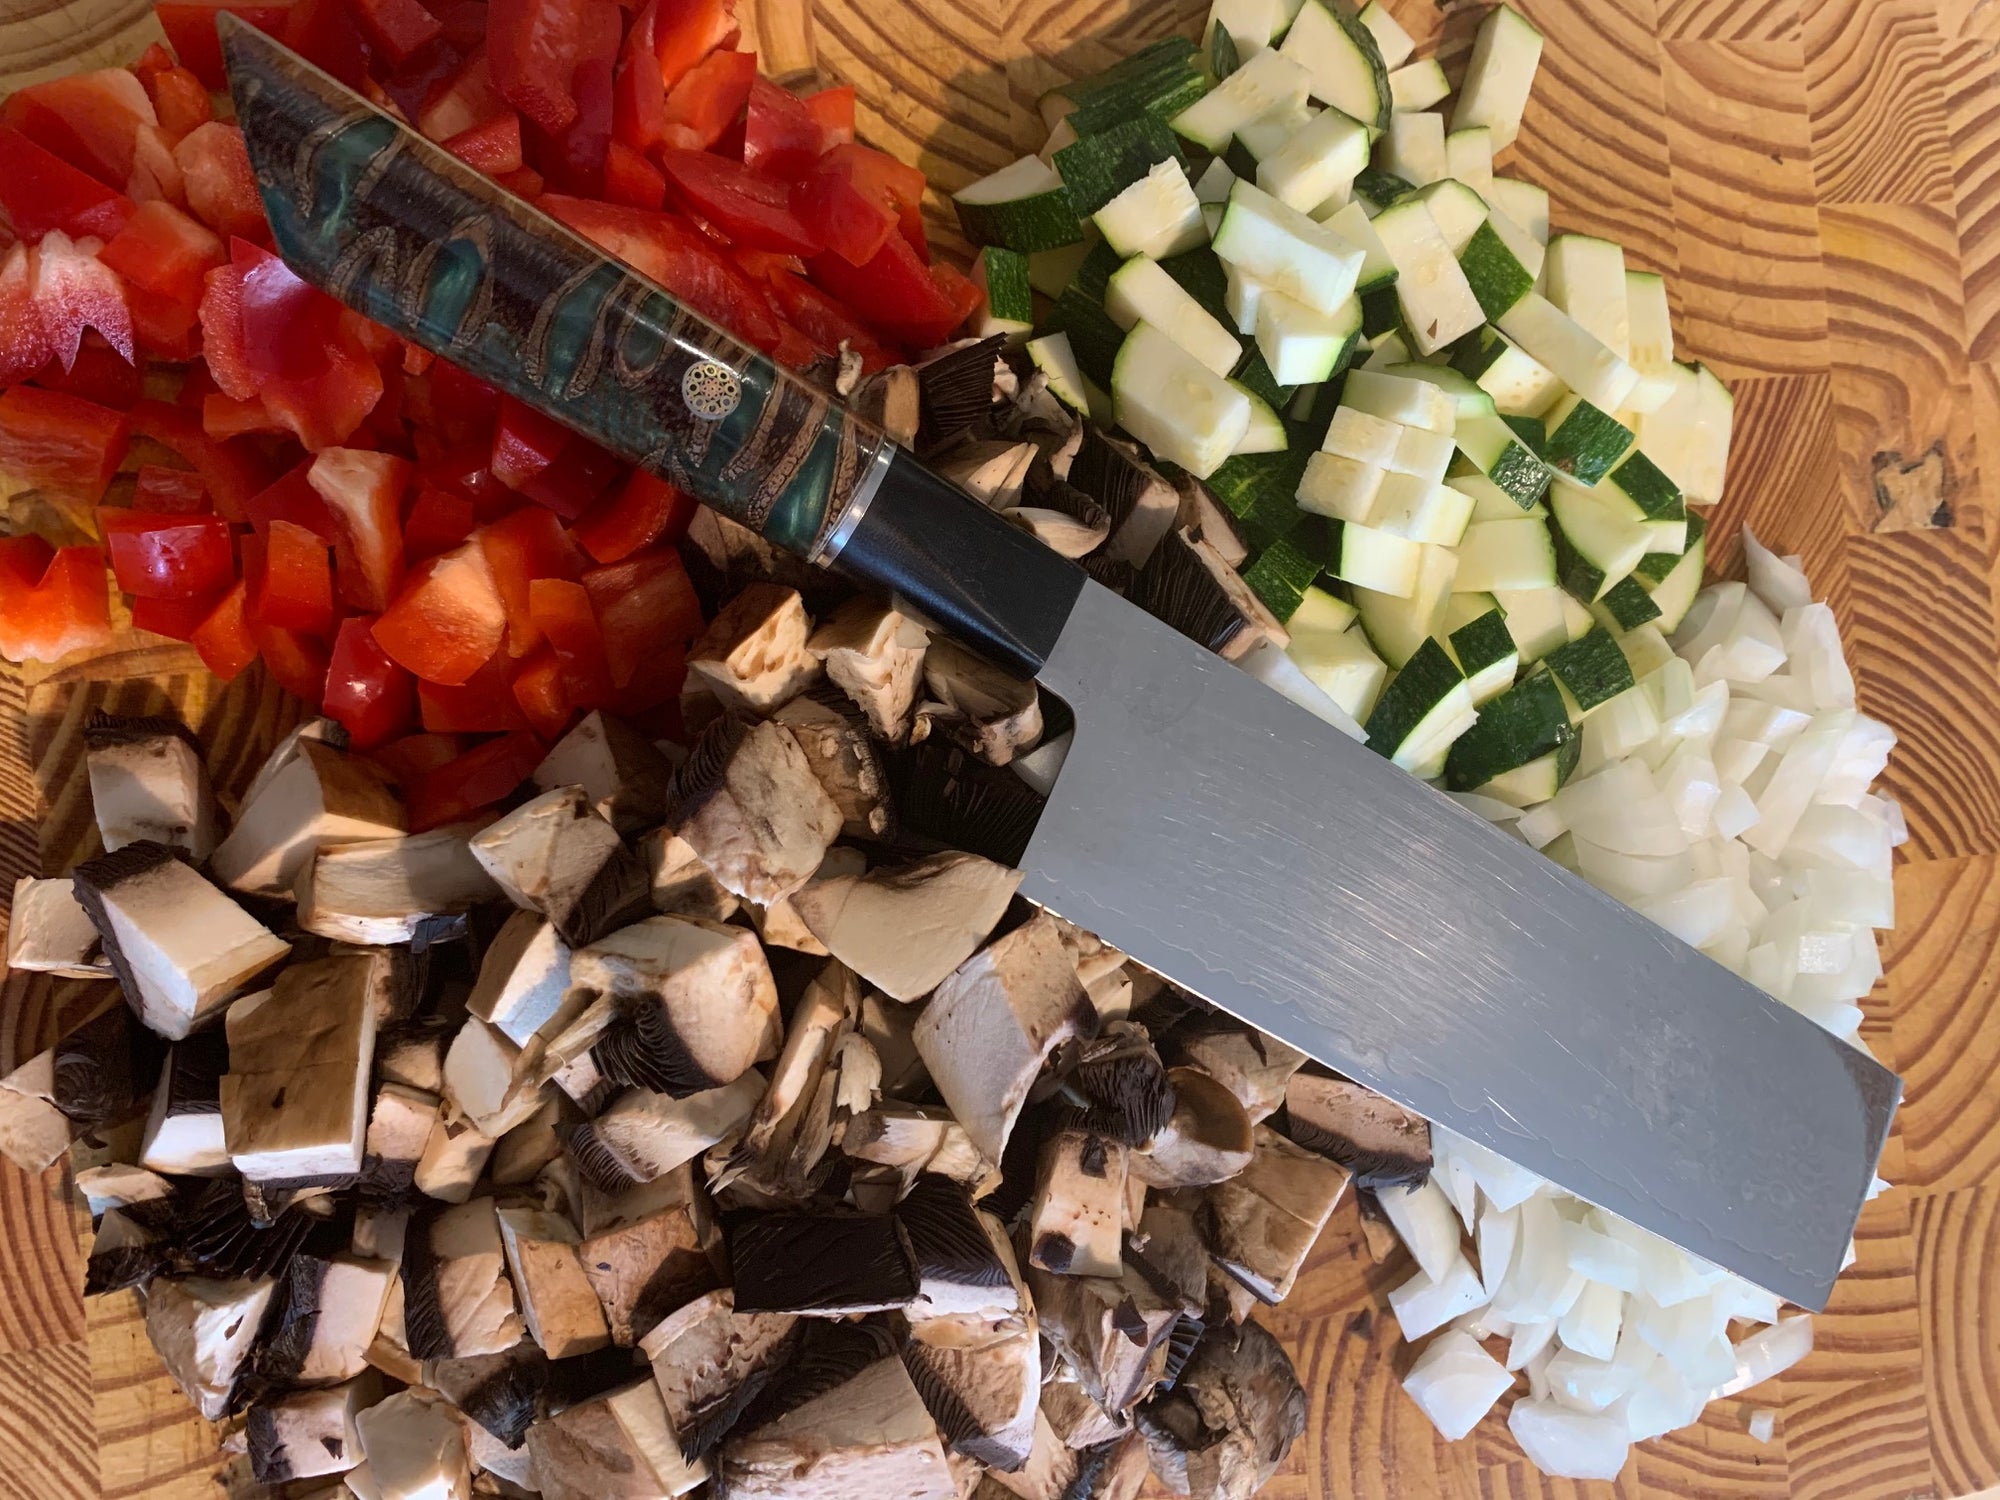
- Katsuramuki (rotary peeling): Rest the tip on the cutting board and rotate the vegetable, peeling a continuous sheet. This requires a steady wrist and practice.
- Julienne and chiffonade: Use the tall blade to support vegetables and make uniform long cuts without sawing.
- Knuckle guide: Use your knuckles as a fence to keep slices even and protect fingertips.
From my experience, practice on carrots and daikon first. Start slow and aim for consistency. This usuba knife guide shows that skill makes the blade truly shine.

Care, sharpening, and maintenance
Good care keeps the edge and extends life. Follow these steps:
- Cleaning: Hand wash and dry immediately. Avoid dishwashers or soaking, especially with carbon steel.
- Hone and sharpen: Use a waterstone progression—1,000 grit to set the edge, 3,000–5,000 grit to refine, and 6,000–8,000+ grit for polish. For single-bevel usuba, sharpen the main beveled side and lightly remove burrs on the flat side.
- Angle and pressure: Maintain a low angle (around 10–15 degrees for the bevel) and use light, even strokes on the stone.
- Storage: Use a saya (wood sheath), magnetic strip, or padded knife block to protect the edge and avoid contact with other metals.
I once chipped a new usuba by storing it loosely in a drawer. After that, I always use a sheath and saw the edge life improve dramatically.
Common mistakes and tips from real experience
Avoid these pitfalls that I have seen often:
- Mistake: Treating the usuba like a cleaver. Tip: Use controlled push cuts for best results.
- Mistake: Neglecting the flat side (ura). Tip: Clean and deburr the flat side after sharpening to maintain a true edge.
- Mistake: Choosing wrong steel for your routine. Tip: Pick stainless if you dislike daily oiling; pick carbon if you want the sharpest edge.
- Tip: Practice katsuramuki slowly. Start with short, straight strips before attempting full rotary peeling.
- Tip: Learn to sharpen or pay a pro. A poorly sharpened usuba beats a well-sharpened western knife for veg prep.
This usuba knife guide trusts that steady habits beat occasional heroics.

PAA-style quick questions
What makes the usuba different from a nakiri or santoku?
The usuba is typically single-beveled and built for ultra-thin vegetable cuts, while nakiri and santoku are usually double-beveled and more general-purpose. The single bevel gives a sharper side and cleaner slices.
Can beginners use an usuba knife?
Yes, beginners can use a double-bevel usuba or start with a single-bevel while learning basic sharpening. Expect a learning curve for single-bevel technique and handedness.
How often should you sharpen an usuba?
Sharpening frequency depends on use. Light honing every few uses and a full stone session every few months keeps the edge healthy for home cooks.
Frequently Asked Questions of usuba knife guide
What is the ideal blade length for home cooks?
For most home cooks, 165–180 mm balances control and cutting surface well. Larger blades are better for pro kitchens with frequent large produce.
Is a single-bevel usuba worth it for a casual cook?
A single-bevel usuba offers superior cuts but requires sharpening skill and can be left- or right-hand specific. A double-bevel usuba is often a better starting choice.
How do I sharpen the flat (ura) side of a single-bevel usuba?
You do not sharpen the ura like the bevel; you flatten and remove burrs with light strokes or a strop. The goal is to keep it smooth and true, not to form another edge.
Can an usuba be used for meat?
It is designed for vegetables and delicate work. You can cut boneless proteins, but avoid bones and heavy tasks to protect the thin edge.
How should I store an usuba to avoid damage?
Store it in a saya, on a padded magnetic strip, or in a dedicated knife roll to prevent contact with other blades and accidental nicks.
What stones and grits are recommended for an usuba?
Start with 1,000 grit to shape, 3,000–5,000 to refine, and 6,000–8,000+ to polish. Use waterstones suited to your steel type for best results.
Conclusion
This usuba knife guide covered what an usuba is, how to choose one, how to use it, and how to care for it. If you want better vegetable cuts, match the blade type to your skill and routine, practice core techniques like katsuramuki, and keep a sharpening plan. Try one focused change—choose the right grind or commit to regular stone time—and you will see immediate improvements. Share your progress, ask questions, or subscribe for more knife guides and tips.
Maliha Khatun has spent 5 years hands-on testing Japanese knives for everyday home cooks. She has evaluated over 60 blades across nakiri, santoku, gyuto, and petty categories — scoring each on edge retention, steel quality, handle comfort, and value for money. She writes to help home cooks buy the right knife without the guesswork.
Expertise:Japanese Knives • Vegetable Knives • Product Reviews • Kitchen Efficiency • Knife Care
Leave a Reply