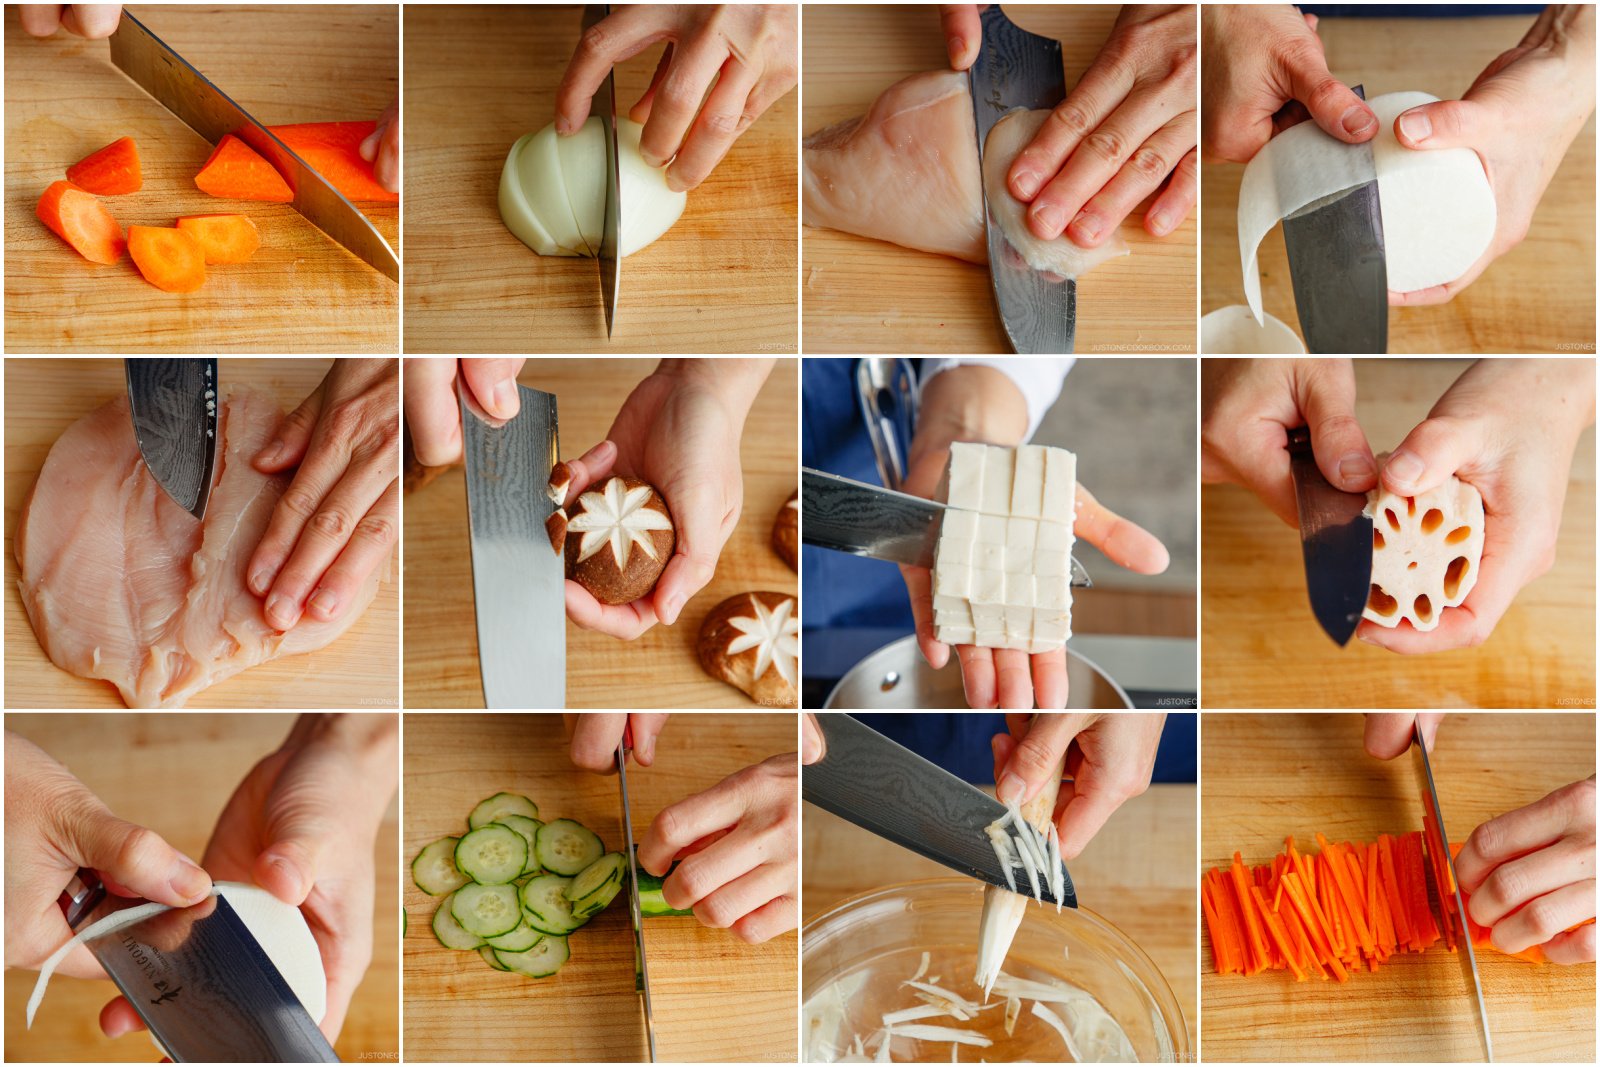
Japanese knives are thinner and harder than most Western blades, and that changes how you should cut with them. Rock-chopping with a gyuto or slamming a nakiri down on a board is the quickest way to chip an edge that cost you good money.
The good news is that there are really only three motions to learn: the Push cut, the Pull cut and the Draw cut. Once these feel natural, everything else, from paper-thin cucumber to clean sashimi, is just practice.
This guide focuses on the motion itself: what your hand should do, which knife each cut suits, and the mistakes that make good knives feel dull.
Why japanese knife cutting techniques matter
Japanese knife cutting techniques focus on efficiency, precision, and respect for ingredients. They reduce waste, preserve texture, and make food look and taste better. I’ve seen a single technique change how a carrot or a sashimi slice presents and feels in the mouth.
These techniques come from a long culinary tradition that pairs specialized knives with specific motions. Once you understand the link between blade geometry and motion, you cut cleaner and faster. Japanese knife cutting techniques are not just rules; they are practical habits you can practice daily.
Core Japanese knife types and how they influence technique
Different Japanese knife cutting techniques depend on the knife type. Each blade shape fits a purpose and A motion.
- Yanagiba: single-bevel long slicer for sashimi and sushi. Use long pull strokes to make one clean slice.
- Deba: thick single-bevel knife for filleting fish and light butchery. Use controlled chops and pulls.
- Usuba and Nakiri: thin rectangular blades for vegetables. Use straight push or pull cuts and katsuramuki peeling.
- Gyuto and Santoku: multi-purpose Western-Japanese hybrid knives. Use push-pull or rocking motions depending on shape.
- Petty: small utility knife for detail work and garnishes.
Matching your motion to the blade helps the edge glide instead of tearing. I learned early on that using a nakiri like a cleaver wastes the edge; the right japanese knife cutting techniques respect each blade’s intent.

Fundamental cutting motions and how to practice them
Master these basic motions before moving to advanced cuts. Good technique starts with grip, stance, and simple drills.
- Grip and stance:
- Hold the handle near the blade with thumb and index finger on the blade shoulder for control.
- Stand stable with feet shoulder-width and your non-cutting hand guiding the food.
- Push cut:
- Push the blade forward and down in a single smooth motion.
- Best for nakiri or santoku on vegetables.
- Pull cut:
- Pull the blade toward you while drawing through the food.
- Ideal for yanagiba and delicate slices.
- Push-pull (push-pull transition):
- Use both directions for quick repetitive slicing.
- Common with gyuto for dicing and fine slicing.
- Rocking cut:
- Pivot on the tip and rock the heel down. Useful with curved gyuto but avoid forcing it with thin single-bevel knives.
Practice drills:
- Tomato slices: 30 uniform slices with a santoku.
- Julienne sticks: 20 identical sticks with a nakiri.
- Sashimi pulls: 10 pull slices with a yanagiba.
PAA-style questions
How should I hold my knife for japanese techniques?
Use a pinch grip: pinch the blade shoulder with thumb and index finger and wrap the other fingers around the handle. This gives control and balance for precise japanese knife cutting techniques.
What motion is best for sashimi?
Use long single pull strokes with a yanagiba, keeping the blade angle shallow and steady to avoid tearing. This showcases core japanese knife cutting techniques for fish.
How often should I practice basic drills?
Short daily practice sessions of 10–15 minutes produce faster improvement than long, infrequent sessions. Repetition builds muscle memory for japanese knife cutting techniques.

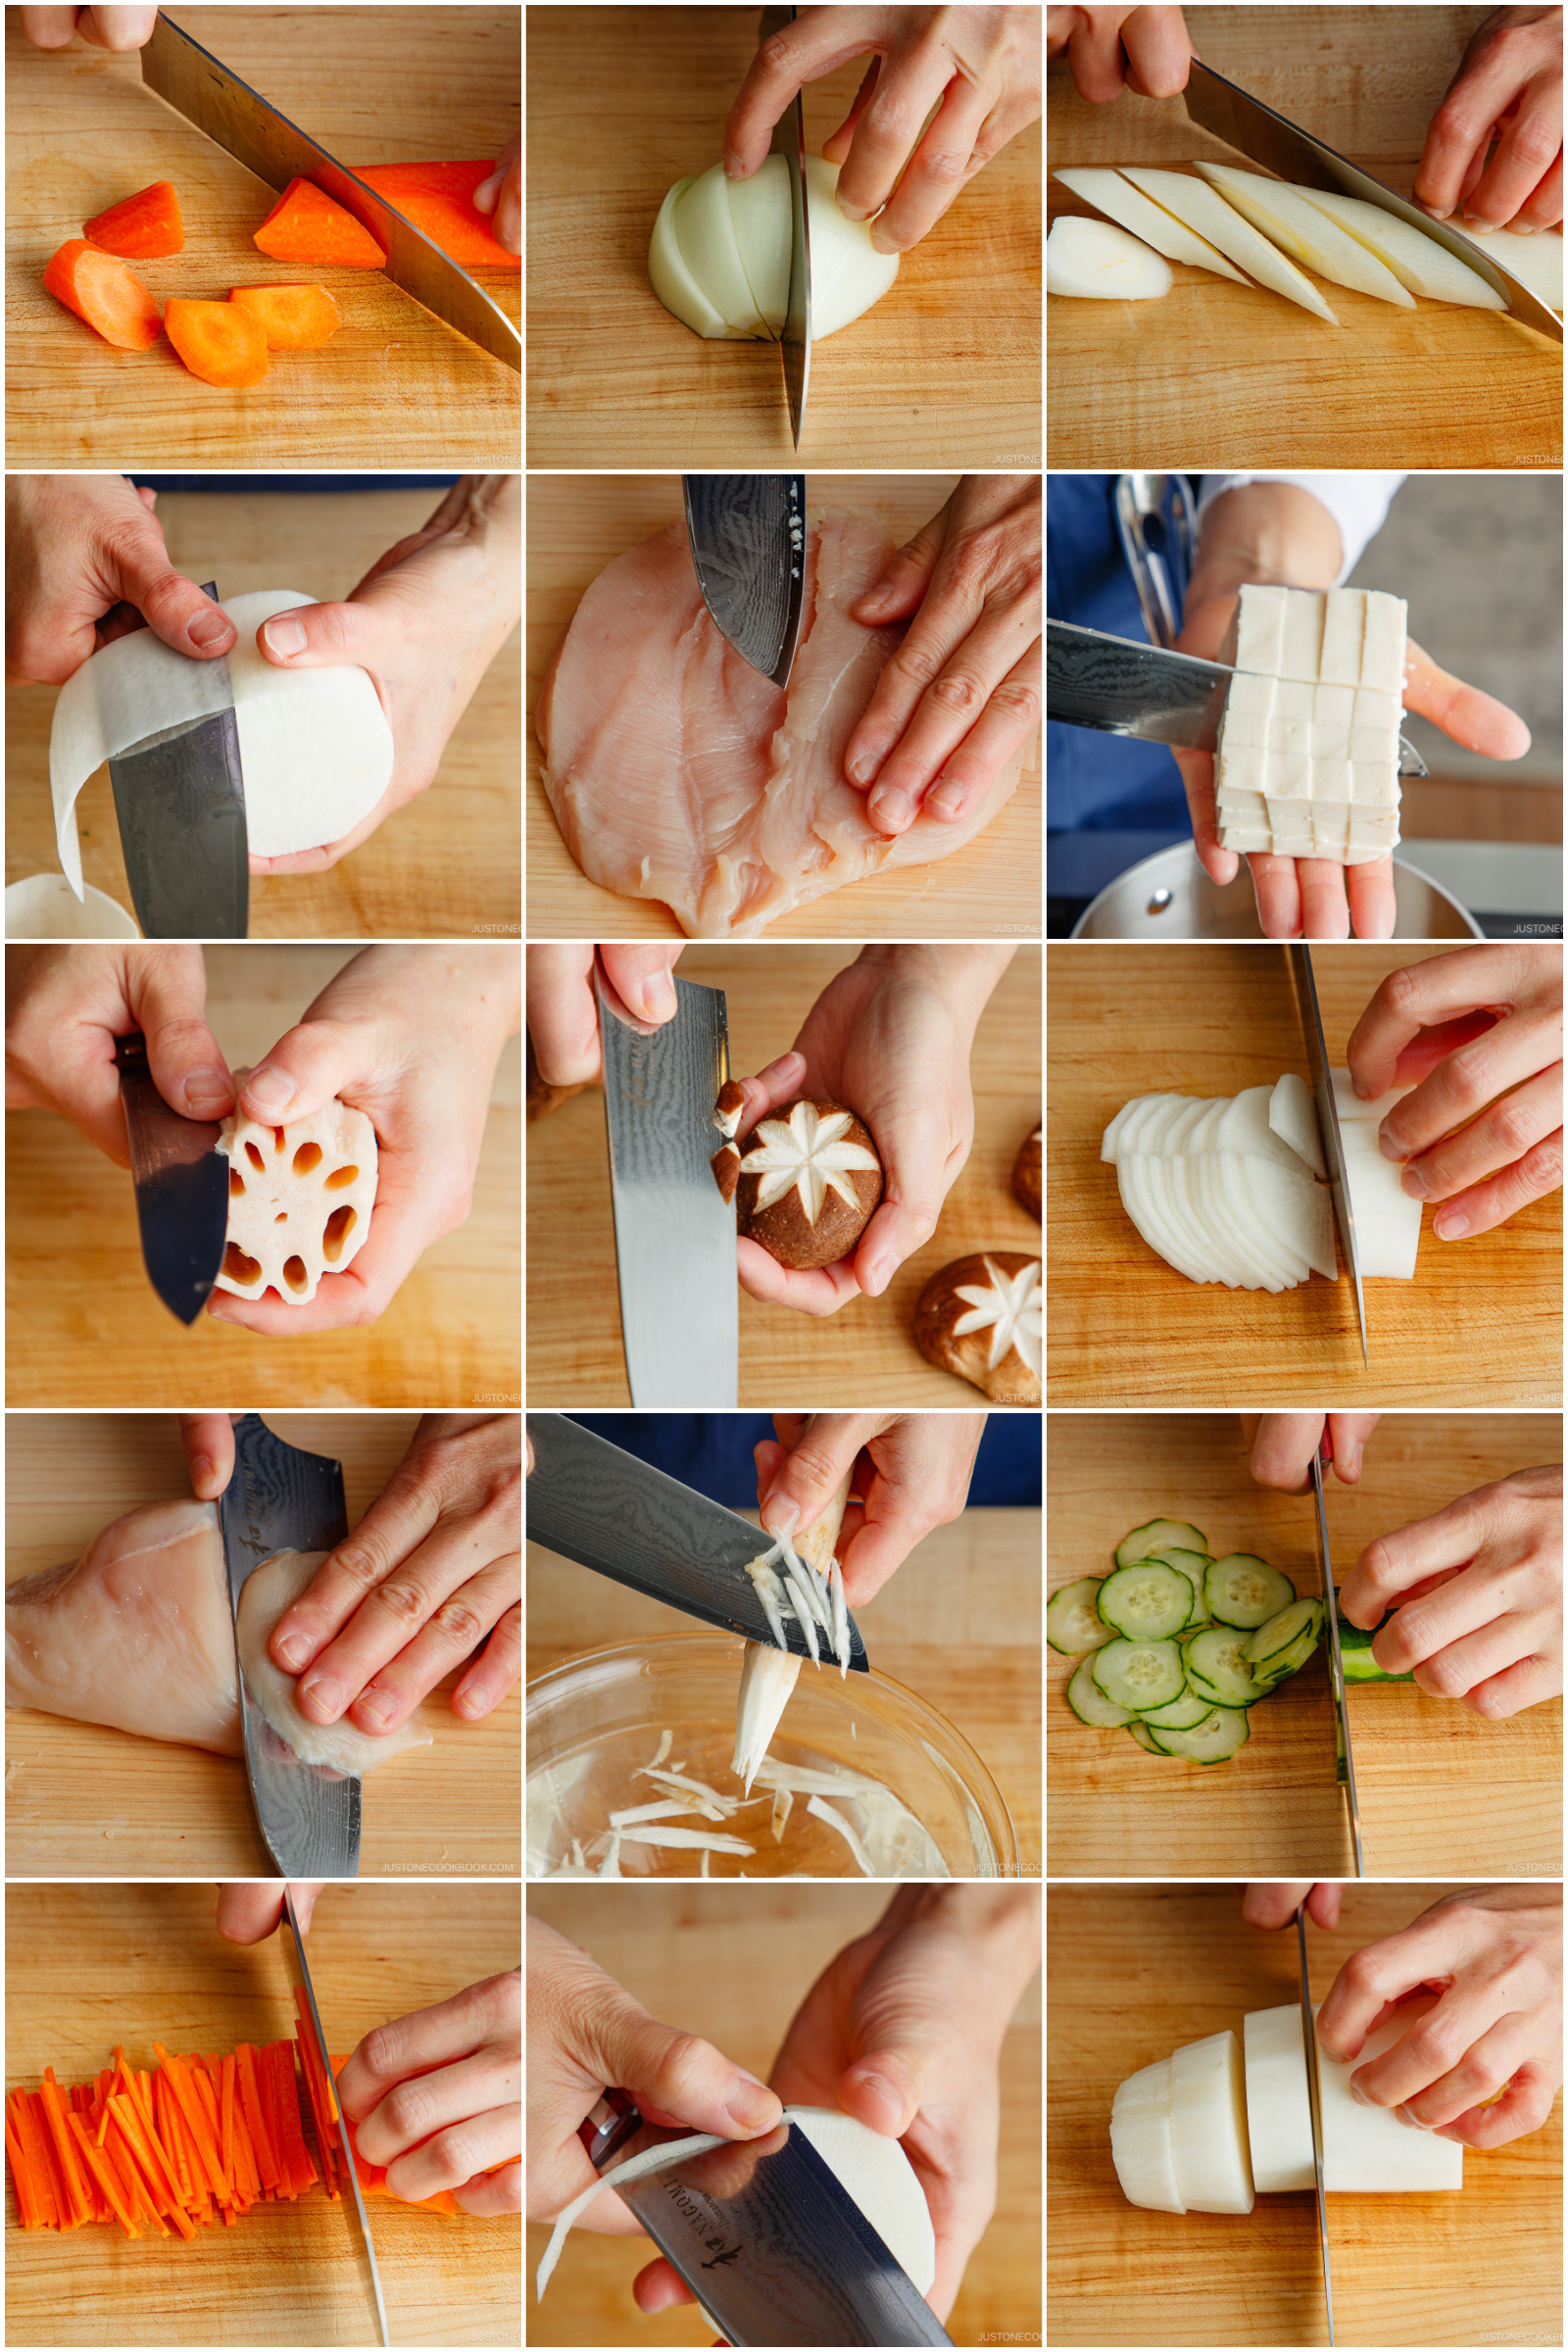
Vegetable-focused techniques: katsuramuki, usuzukuri, and chiffonade
Vegetable techniques are where japanese knife cutting techniques shine. These cuts highlight texture and presentation.
- Katsuramuki (rotary peeling):
- Use a thin, long blade and peel a vegetable into a single thin sheet.
- Common for daikon. Keep a steady wrist and gentle pressure.
- Usuzukuri (paper-thin slices):
- Slice across a roll into translucent slices for sashimi-style vegetables or fish.
- Holds texture and showcases visual skill.
- Julienne and batonnet:
- Stack and slice with steady, even strokes to keep uniform cooking times.
- Chiffonade:
- Stack leaves, roll tightly, and slice thin ribbons with a petty or chef’s knife.
Practical tip: wet or glazy surfaces slip more. Wipe the blade and vegetable to keep slices clean. I still practice katsuramuki weekly; it sharpened my focus and steadied my hands.
Sashimi and fish: single-stroke cutting and bone work
Fish requires respect and the right motion. Japanese fish techniques emphasize one clean stroke and the correct blade.
- Yanagiba single-stroke slicing:
- Place the fish on a stable board. Pull the blade in one smooth motion from heel to tip.
- Avoid sawing; slicing in a single sweep preserves the flesh.
- Deba for filleting:
- Use controlled downward force to break through bone, then use the edge to separate flesh.
- Deba is heavy at the heel; use leverage rather than brute force.
- Skinning and pin-boning:
- Use a petty or small flexible blade for pin-boning.
- Keep the skin taut and run the edge between skin and flesh.
Real-life note: the first time I learned deba filleting, my cuts were ragged. A mentor corrected my angle and taught me to let the knife do the work—typical of japanese knife cutting techniques emphasis on economy of motion.
Sharpening, maintenance, and edge angles
A great cut begins with a sharp edge. Japanese edges use different angles than Western knives and need proper care.
- Edge angles:
- Single-bevel (e.g., yanagiba, deba) often 10–15 degrees on the primary side.
- Double-bevel gyuto/santoku around 15–20 degrees per side.
- Whetstones:
- Start with coarse (400–1000) for chips, medium (1000–3000) for shaping, and fine (4000–8000) for polishing.
- Soak or splash stones as needed and maintain consistent strokes.
- Honing and stropping:
- Use a fine stone or strop to align the edge between sharpenings.
- Storage and rust prevention:
- Keep single-bevel blades oiled and dry. Store in a saya (wood sheath) or on a magnetic strip.
- Safety:
- Always cut away from your body and keep fingers in a claw grip.
I learned to respect stone progression after ruining a $400 blade by skipping grit steps. Proper sharpening is part of mastering japanese knife cutting techniques.
Practice drills, progression, and common mistakes
Consistent practice turns precision into habit. Use drills that build speed, accuracy, and comfort with each blade.
- Repetition drills:
- 50 uniform slices on a cucumber.
- 30 julienne sticks from one carrot.
- 10 katsuramuki sheets of daikon.
- Progression plan:
- Learn grip and stance.
- Master push and pull cuts.
- Practice blade-specific motions (yanagiba pulls, deba fillets).
- Move to advanced decorative cuts.
- Common mistakes:
- Using the wrong knife for the task.
- Applying too much force instead of letting the edge glide.
- Skipping basic sharpening and damaging the edge.
- Poor board choice—hard boards blunt edges quickly.
Personal tip: film your practice with a phone. Reviewing footage helped me correct wrist motion and hand placement faster than trying to feel changes in real time. Japaneseknife cutting techniques improved dramatically after adopting this habit.
Tools and accessories that support japanese knife cutting techniques
The right tools make practice productive and safe. Small investments speed learning.
- Cutting boards: thick, soft wood or high-density plastic to protect edges.
- Honing rods and stones: ceramic rods for light honing, stones for sharpening.
- Saya and magnetic strips: safe storage that preserves edges.
- Finger guards and cut-resistant gloves: useful for beginners while building skill.
- Food clamps and non-slip mats: stabilize ingredients for cleaner cuts.
Pick tools that match your knives. A yanagiba needs a different care routine than a santoku; matching accessories helps preserve edge geometry and supports good japanese knife cutting techniques.

Push, pull or draw: a quick comparison
| Motion | How it works | Best knives | Use it for |
|---|---|---|---|
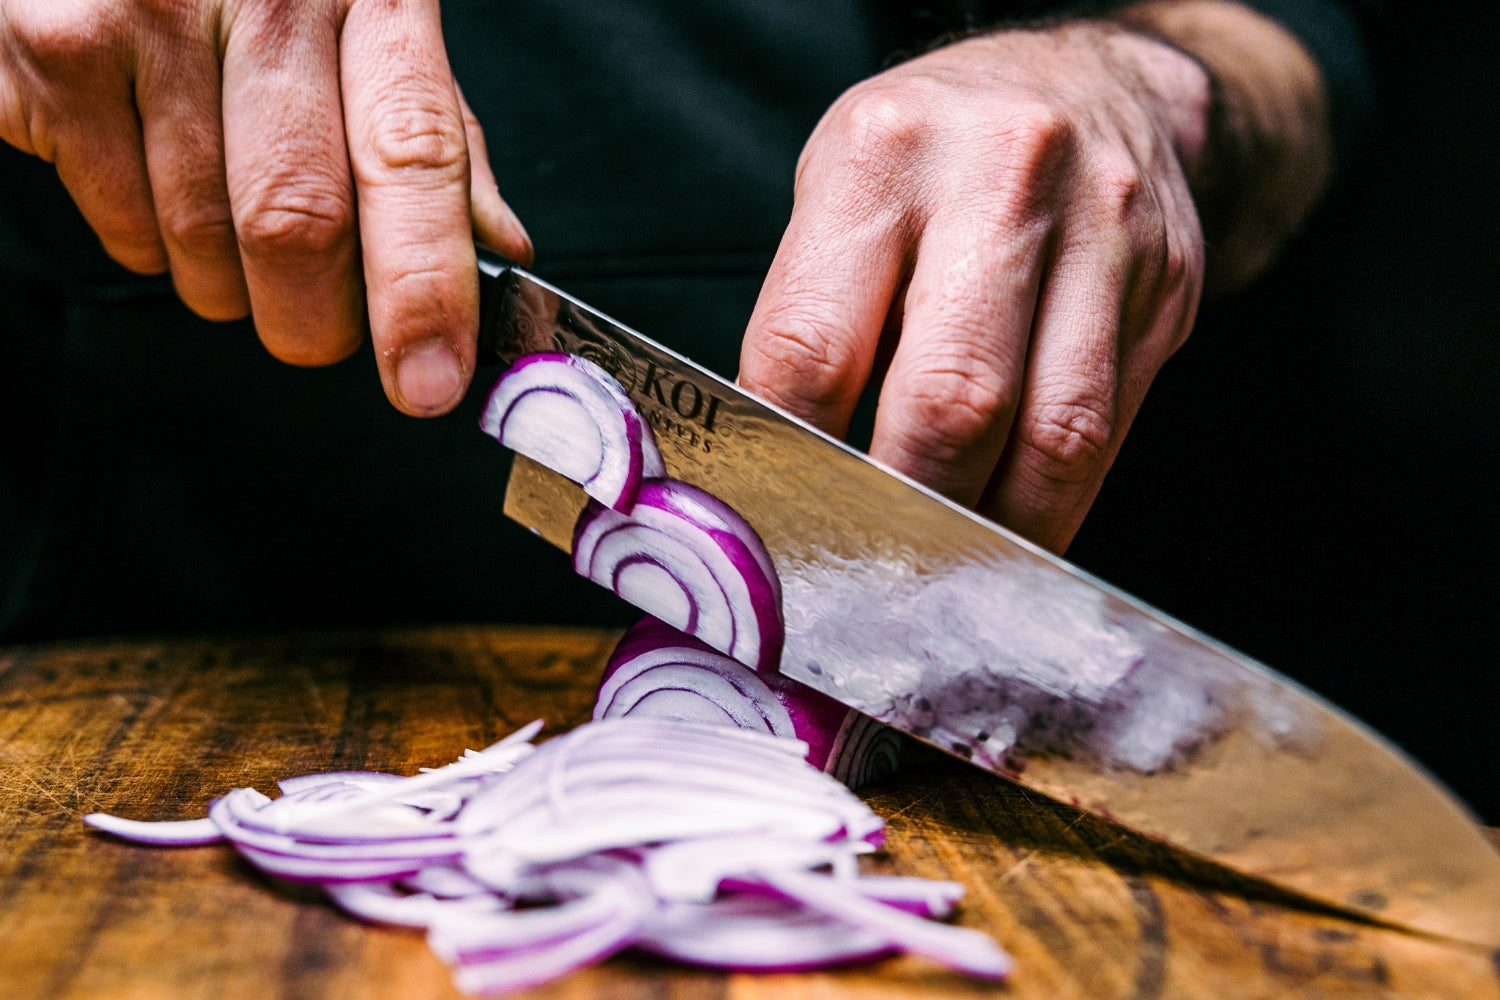
| Push cut | Blade moves forward and down in one smooth stroke | Gyuto, santoku, nakiri, bunka | Onions, carrots, herbs, most vegetables |
| Pull cut | Heel starts the cut, knife is drawn back toward you | Yanagiba, sujihiki, petty | Raw fish, cooked meat, delicate slices |
| Draw cut | Tip stays near the board while you pull through with little downward force | Petty, gyuto tip | Scoring, shallots, fine detail work |
Notice what is missing: the rocking motion. Japanese profiles are flatter than German chef knives, so rocking makes the edge slap the board instead of slicing.
Three five-minute drills that actually help
1. The paper drill. Hold a sheet of printer paper by one corner and push-cut downward from the heel. If the knife glides, your angle and pressure are right. If it tears, you are pressing instead of slicing.
2. The cucumber ladder. Slice a cucumber into the thinnest rounds you can, moving your guide hand back a few millimetres each time. Aim for consistency, not speed. Speed comes later on its own.
3. One-stroke tomato. Cut a ripe tomato in a single pull stroke without sawing. It forces you to use the full length of the edge, which is exactly what yanagiba and sujihiki cuts depend on.
Frequently Asked Questions of japanese knife cutting techniques
What is the best knife to start learning japanese cutting techniques?
Start with a santoku or gyuto for versatility. These multi-purpose blades let you practice push, pull, and rocking motions common in japanese knife cutting techniques.
How do I keep a single-bevel knife sharp?
Use whetstones in a progression from coarse to fine and respect the primary and secondary bevels. Light stropping and careful maintenance will keep the edge usable for sashimi and precise cuts.
Can I use western techniques with japanese knives?
You can mix techniques, but avoid heavy rocking or force with thin single-bevel blades. Match motion to blade type to prevent chipping and to follow proper japanese knife cutting techniques.
How often should I sharpen my knives?
Sharpen frequency depends on use; light home use may need a tune-up every few months, heavier use needs more frequent sharpening. Use honing daily for alignment and stones for full sharpening.
Are japanese knives harder to maintain than western knives?
Single-bevel and high-carbon knives require more care to avoid rust and maintain the edge. With the right routine, they reward you with superior sharpness and cutting performance, an important aspect of japanese knife cutting techniques.
Is the pinch grip necessary?
The pinch grip improves control and balance and is standard in japanese knife cutting techniques. It reduces wrist fatigue and increases precision compared to a full-handle grip.
Conclusion
Good technique with a Japanese knife is less about fancy names and more about letting the edge do the work. Push for vegetables, pull for proteins, draw for fine detail, and never rock or twist a hard blade on the board. Practise the three drills above for a week and you will notice cleaner cuts, less bruised herbs and an edge that stays sharp longer.
Maliha Khatun has spent 5 years hands-on testing Japanese knives for everyday home cooks. She has evaluated over 60 blades across nakiri, santoku, gyuto, and petty categories — scoring each on edge retention, steel quality, handle comfort, and value for money. She writes to help home cooks buy the right knife without the guesswork.
Expertise:Japanese Knives • Vegetable Knives • Product Reviews • Kitchen Efficiency • Knife Care
Leave a Reply